
If you have a small space, this shelf is perfect! When I got married, I really hated having all the random pieces of furniture that came together. It seemed cluttered and everything was a different color of wood. After this was built, we were able to get rid of a few book cases (and some books while we were at it!) and create a simple, all-in-one solution for our living room. I was blown away by how much we could fit on these shelves. The TV fits here, our record player, photos, art, DVDs… everything really made the space come together.
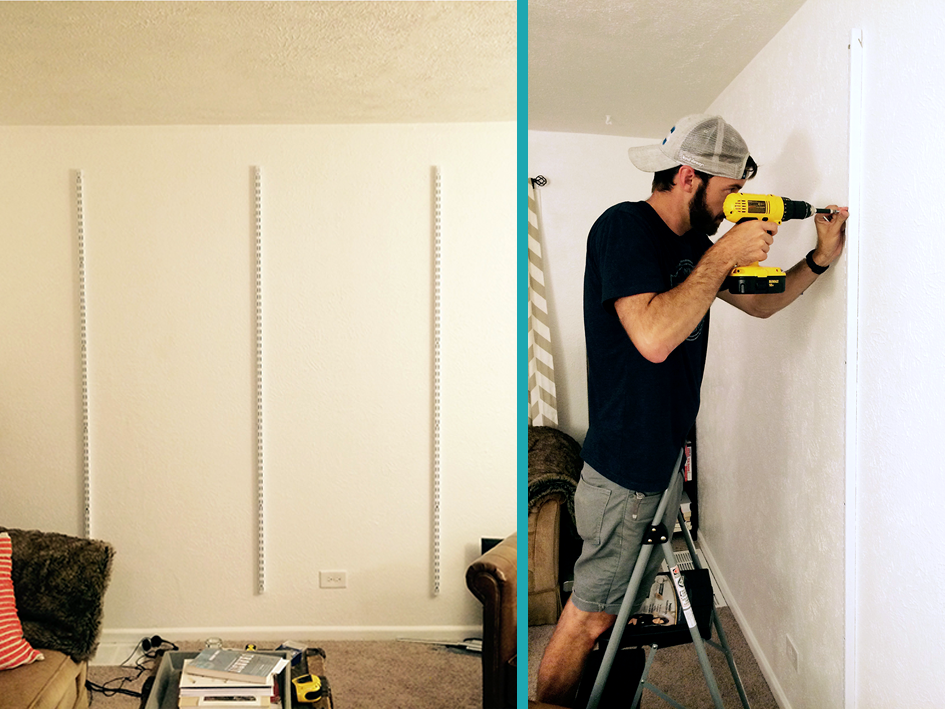
We were able to put the entire thing together in an afternoon, where most of that time was waiting for the wood stain to dry. The most challenging part was making sure the bracket uprights were perfectly lined up so the boards would be level going across them – so just make sure you have a long level on hand. We just purchased the house in July, and we’ve been making a lot of improvements. First, you’ll notice from the before and after photos below, we started by painting the walls white. I think white walls really help small spaces feel bigger and brighter.


Supplies Needed:
(3) 70 in. Twin Track Uprights
(14) 11-1/2 in. White Twin Track Shelf Bracket
2.5” wood screws
1”x12” boards, cut by Home Depot. We used: (2) 68″ long boards, (4) 36″ long boards
Wood stain. We used MinWax Golden Oak Stain
Paint brush
Sand Paper
Tools Needed:
Drill
Level
Stud Finder
Tape Measure
First you’ll want to plan out your design. How many long shelves do you want and how many short shelves? We opted for two long and 4 short, but you can play with different looks, depending on if you’re going to have a big TV on it or not. We also had the wood hang 2 inches over the brackets. Measure everything out and then get your supplies. If you do that ahead of time, you can have Home Depot (or your hardware store of choice) cut the wood to the exact sizes you need. This made the process really easy for us.
Use sand paper to smooth out the wood, and then stain it to the color of your choice. We used Golden Oak stain, which created a nice light brown look.
We placed our twin track uprights 32 inches a part on the wall. It’s very important you use a stud finder and drill these into the studs. The shelf became very heavy and definitely needs to be anchored! We used blue painters tape to mark the studs before we started drilling (and to have a better idea of the final design).
Use a drill and 2.5 inch wood screws to attached the uprights to the wall. It’s important to make sure you get these three bars level with each other so the bracket holes match up perfectly. To do this, we drilled one screw at the top of each upright, used a level to make sure they were right, then we drilled in the rest of the screws.
Once that’s complete, place the shelf brackets on their track and begin to assemble! Place the wood on top of each bracket and create the look you want. The total project cost us about $150 to complete. We liked it so much we decided to use the same shelving in our pantry to add extra storage!